This post is dedicated to a complete and video tutorial on building and setting up a teamspeak server because it is very necessary and usually after setting up a world of warcraft server you need a team speak server.
To install the teamspeak server , I explained in full in the following video, and an important issue that we addressed is port forwarding for teamspeak server, so that we can watch the video together:
To make the World of warcraft server and the Teamspeak server online, you can provide services to a server online after installation in two ways.
The first thing you do not need to do much is to run your world of warcraft server or Teamspeak server on a virtual server or the same Vps, and after installing your epi, enter the Vps in different places on the server.
But the second case is running the server in the blood system (other than Vps), which we will teach you in this step-by-step tutorial with video today.
For this purpose, watch the video below in this regard.
Note : We taught you how to make a Teamspeak server online in a separate post. Click here to see this tutorial.

Download the appropriate version of the server (depending on the operating system) here .
TS Server Management Specifications
In this window, there are three values with the letters Login name, Password, Token, and so on. Save all three in a safe place (you will need them later) and close the window.
Now run the TeamSpeak Client program that is already installed on the system, click Connect from the Connections menu, type the IP server in the Server Address, and then click Connect.
(You can use IP 127.0.0.1 for local use and testing)
Now you need to Copy-Paste the token you saved in the previous step (phrase like + uPFsDHUcIXM + BIBrWrtyZ83UbHR9RCl) in the top window and click OK to become your own server administrator! simply
Now you just have to make the server channels according to your taste and give the IP to your friends and acquaintances to join your server.
Note: Due to the activation of the firewall, the firewall may not allow others to access your server, in which case you must open the default ports UDP 9987 – TCP 10011 – TCP 30033 on the firewall.

To install the client, see the following tutorial:
In this tutorial, you will learn how to install and set up Team Speak 3 software, create and build profiles in Team Speech 3, and adjust the microphone and sound settings.
Step 1: Download and install Team Speak 3 software
First, download the Speak 3 team software through the following link :
- First, click on the links above and download the software.
- In the page that opens, download the desired software version according to the system you intend to use. If your Windows is 64-bit, download the 64-bit version, otherwise download 32-bit.
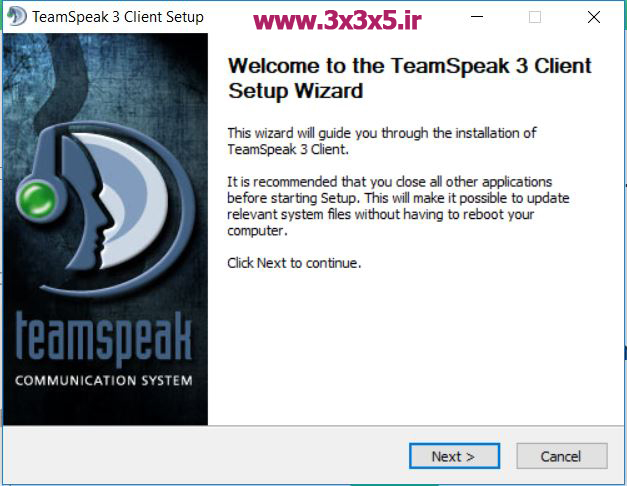
- The installation steps are very simple. In each step, click on the Next option. In the first step, when you enter the License Agreement section, scroll to the end of the post section to activate the tick acceptance option for you. After checking, click Next again. In the next step, press Next again. In the next step, select the software drive and click Next. In the next step, click Next. In the last step, click the Install option. After installing the software, a shortcut icon will appear on the desktop called Team Speak 3 Client.
- You have successfully installed the software.

Step 2: Set up and create a profile and connect to the server in Team Speak 3 software
- Run the software by clicking on its icon.
- Scroll to the License Agreement tab to the end and press I accept.
- You will then see a page similar to the one below.
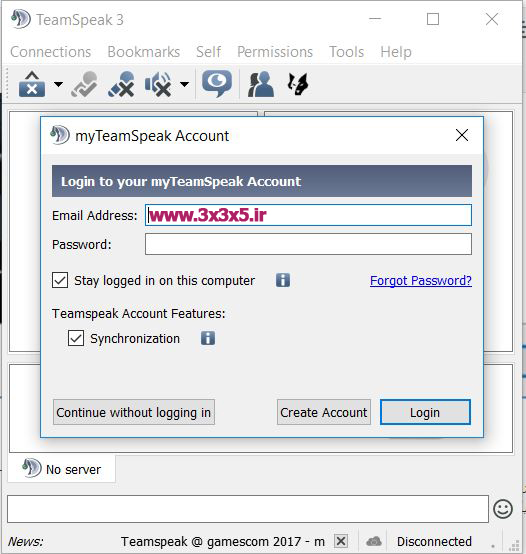
- Here, if you already have an account, enter your email and password and click on Login to log in to your account. If you do not have an account, there are two ways to enter the relevant server without creating an account (not recommended) Account Create a new user so you can always have your friends and servers with you. Click on Create Account to fill the page with your details.
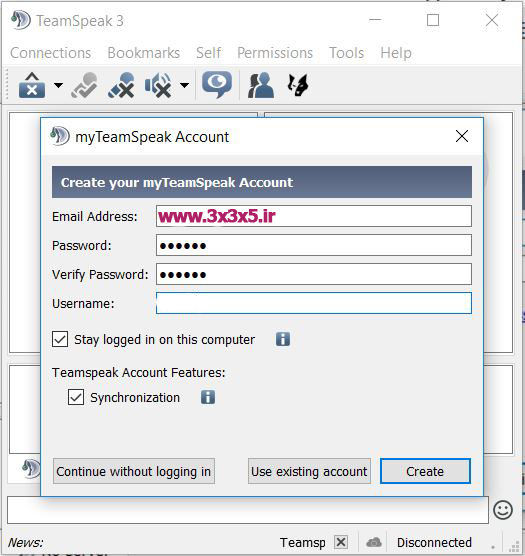
- After filling in the Click option, a new window based on sending a confirmation email will open for you. If you wish, go to your email and click on the activation link. After receiving the account activation message, return to the software. Click on Login. Otherwise click on Verify Later, which means I will verify my account later.
- A new window will open. Enter your name here. This name can be anything and you do not have to enter your name. For example, if your name is in GTA 5 Alex 256, enter it.
- Now that you have successfully entered Team Speak 3 software, note that when you close and reopen the software, you will not be asked a login-based question and the software will automatically keep you logged in.
- To connect to the server, click Connection from above and click Connect.
- A window will open for you according to the following window. Here you have to enter the server address in the Server Address section and enter a name as your name in the Nickname section and in the Server Password section, a password for the server. Some servers can be without a password. All you have to do is leave this field blank and click on Connect after filling in the above items.
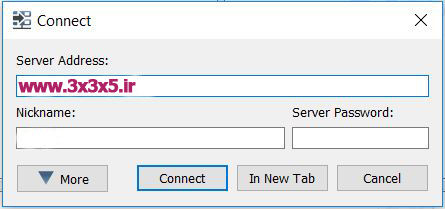
- After entering the above items to the server, you will be automatically connected to the Home channel. If you want to connect to other channels, double-click on it and connect. Be careful that some channels ask you for a password. they want.

Step 3: Microphone and sound settings and other options in Team Speak 3
- For the settings, select the last option from the Tools section, ie Options. A page according to the image below will open for you.
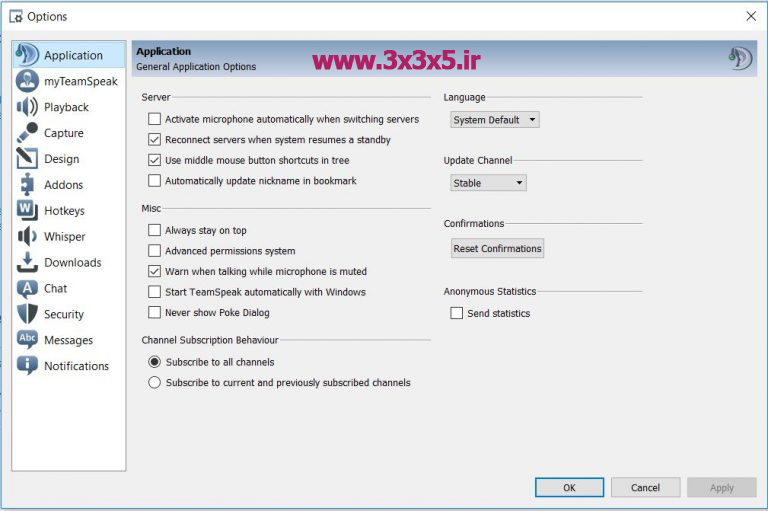
- You can see all the software settings here. Go to the Capture section for sound settings.
- Click on the Begin Test button here to test your voice and have your voice recognized by the software.
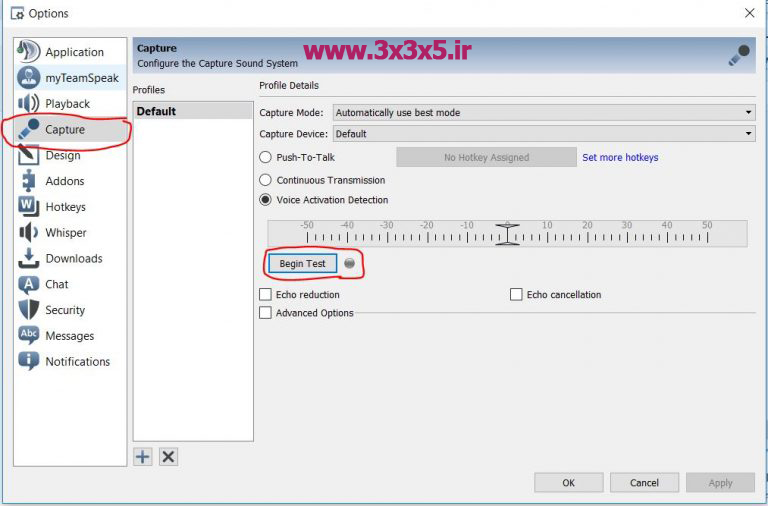
- There are three options in this image:
Push To Talk
Continuous Transmission
Voice Activation Detection
Each of the above can help you move your voice.
The default option, Voice Activation Detection, is automatically detected and sent by Team Speak software when you speak.
The Push To Talk option allows you to press a key when you want to send a message, which is recommended to reduce your Internet traffic. When you select this option, a key will open in front of it. When you click on it, you can now Set the combination keys to send the sound. For example, CTRL + Shift + S can be a combination key.
We do not recommend the middle option because it sends audio continuously and reduces your internet volume faster. - It is not possible to explain all the settings in this post. You can get acquainted with the general settings of the software by navigating a bit in different sections.


